
Connect Mailchimp
Connect Mailchimp to add the guests who book with you to a Mailchimp audience. You connect your Mailchimp account once, then set up each venue: which audience its guests join, which Rex fields fill which Mailchimp fields, and which tags they get. A venue can also send its event inquiries to Mailchimp.
Connect your Mailchimp account
Navigate to Global Integrations
Type Mailchimp in the search box to find its card.
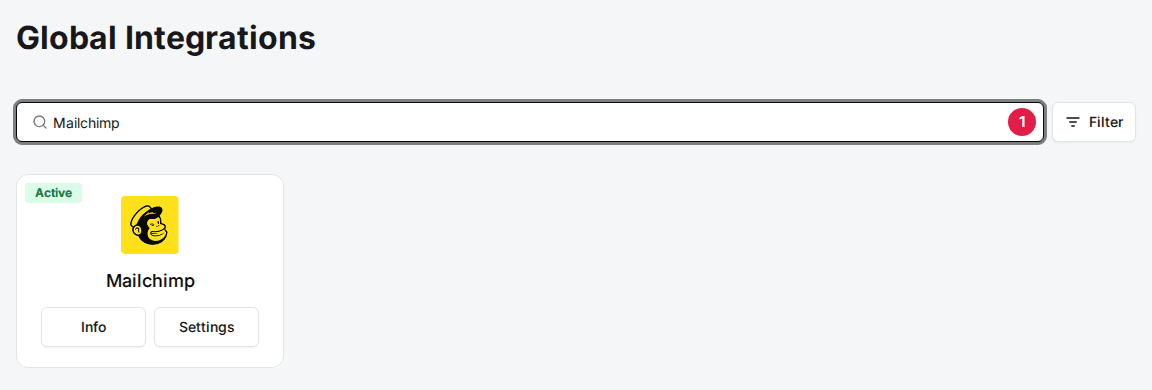
Add the Mailchimp card
Click Add, then Confirm and Add. If the card already shows Info and Settings, it's added, so go to the next step.
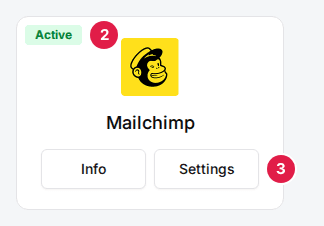
Click Settings on the Mailchimp card
The Mailchimp window opens.
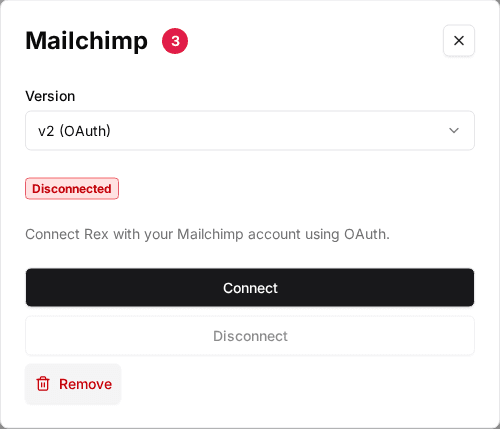
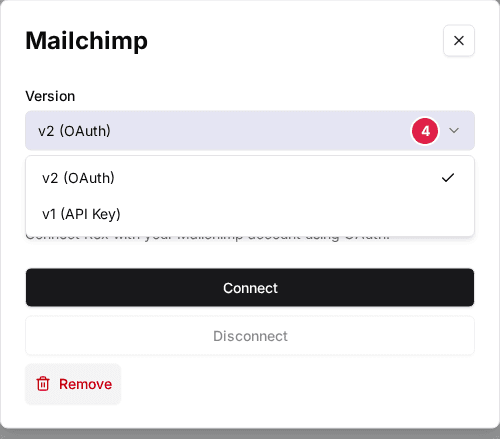
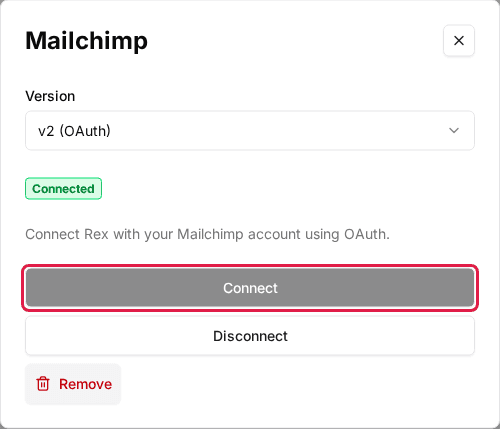
Select v2 (OAuth) as the Version
This is the default. Reservation syncing, and the venue's list, field mappings and tags, all use this connection.
Click Connect
Sign in to Mailchimp in the window that opens and allow access. The status changes from Disconnected to Connected.
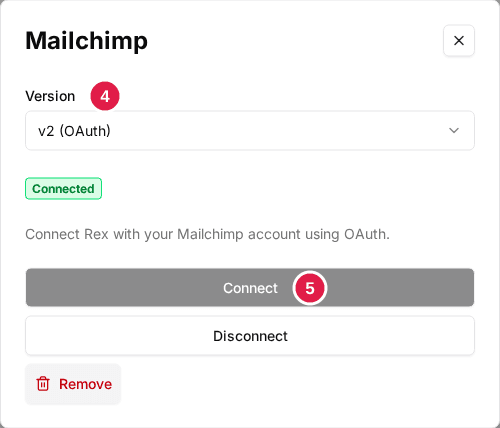
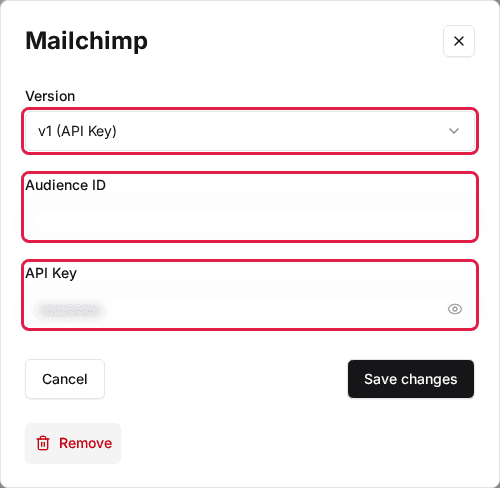
To also send event inquiries to Mailchimp, switch Version to v1 (API Key), enter your Mailchimp Audience ID and API Key, and click Save changes. Rex uses this second connection only for event inquiries, and both connections can be saved at the same time.
Set up each venue
Navigate to the venue
Open the venue. The Integrations section is at the bottom of the General tab.
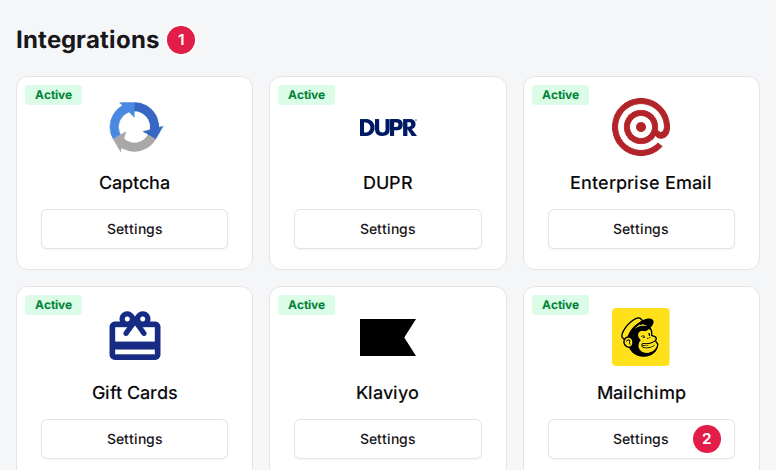
Click Settings on the Mailchimp card
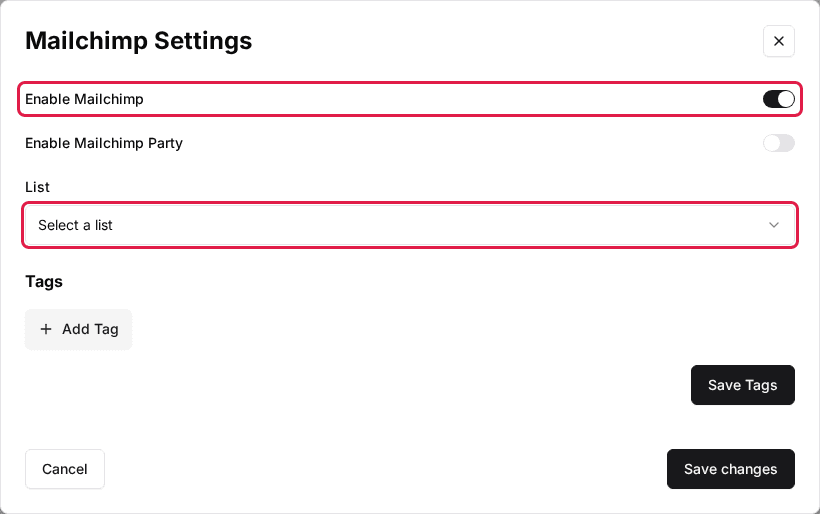
The Mailchimp Settings window opens.
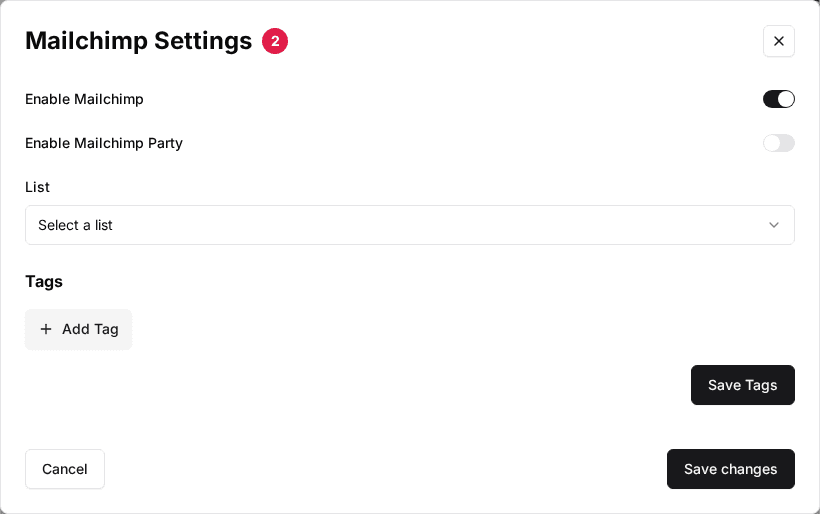
Toggle Enable Mailchimp to ON
Rex sends this venue's new reservations to Mailchimp. Turn on Enable Mailchimp Party too if this venue's event inquiries should go to Mailchimp (this needs the v1 (API Key) connection).
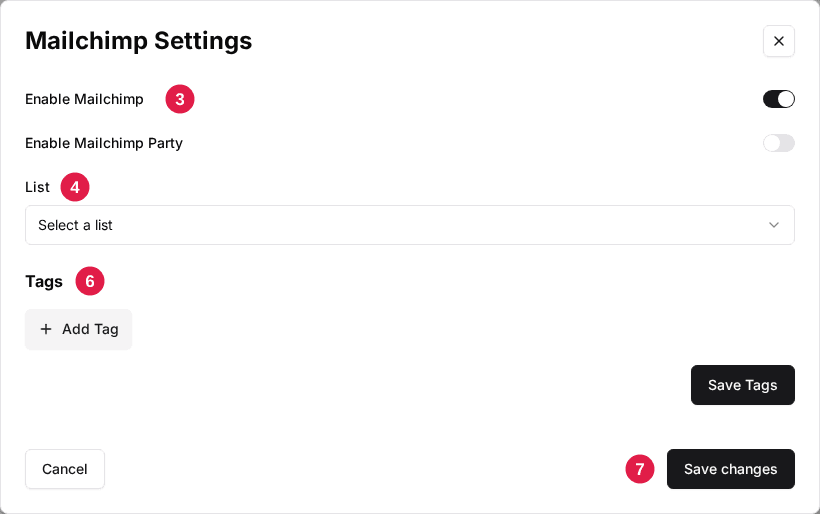
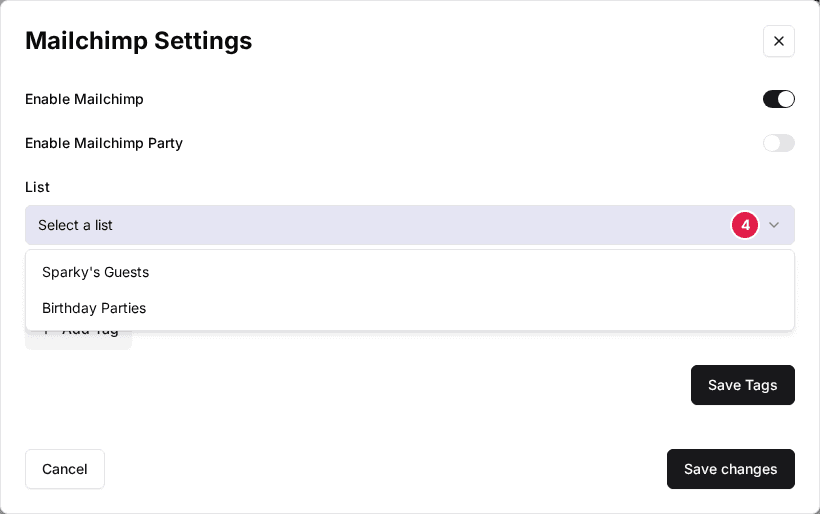
Select a List
Pick the Mailchimp audience this venue's guests should join. The Field Mappings section appears below it.
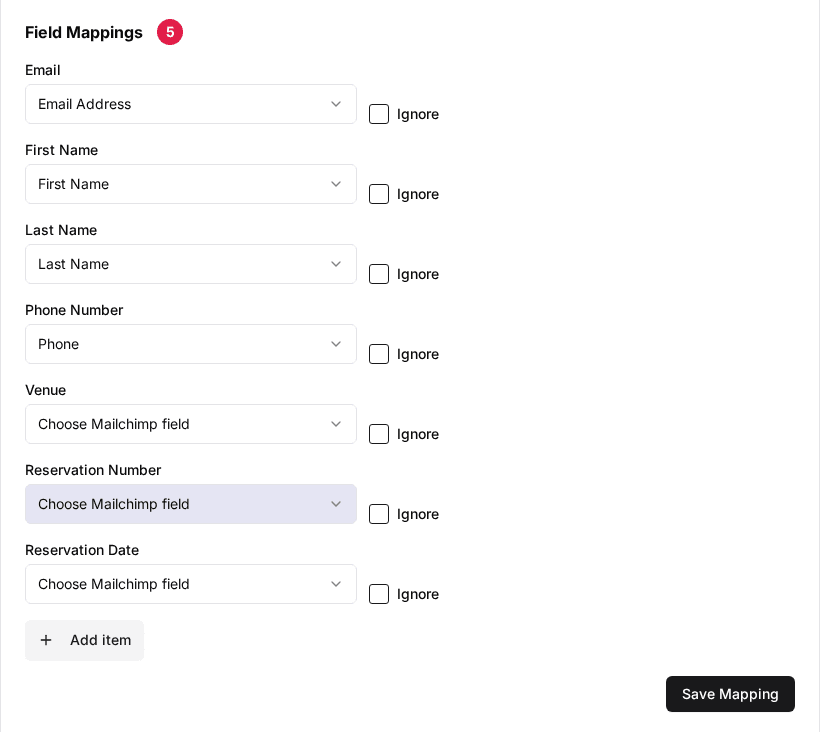
Map your fields
For each Rex field (Email, First Name, Last Name, Phone Number, Venue, Reservation Number, Reservation Date), choose the Mailchimp field it fills, or tick Ignore. Add item maps a checkout question to a Mailchimp field. Click Save Mapping (Update Mapping once a mapping exists).
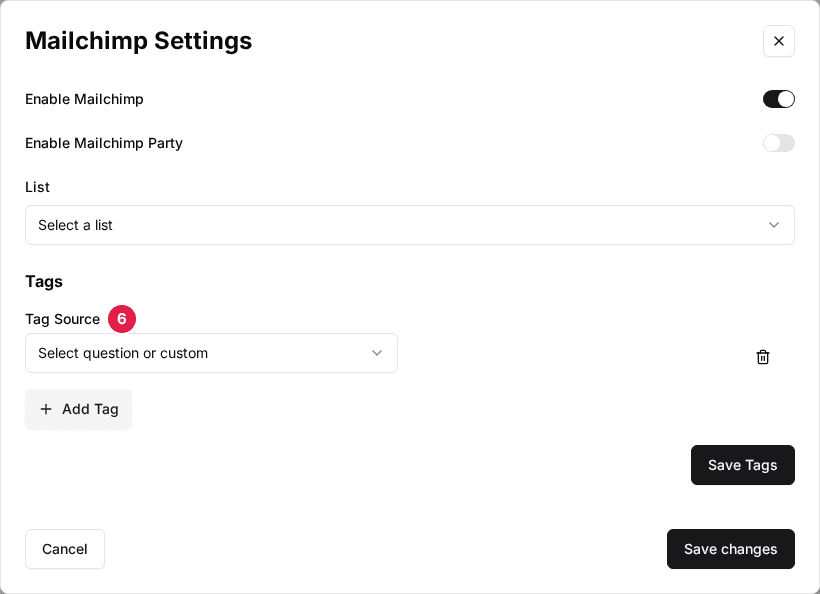
Add tags (optional)
Under Tags, click Add Tag and pick a Tag Source: a checkout question, or Custom Text to type your own tag. Click Save Tags (Update Tags once tags exist). Rex adds these tags to every guest this venue sends.
Click Save changes
This saves the Enable Mailchimp and Enable Mailchimp Party switches and closes the window.
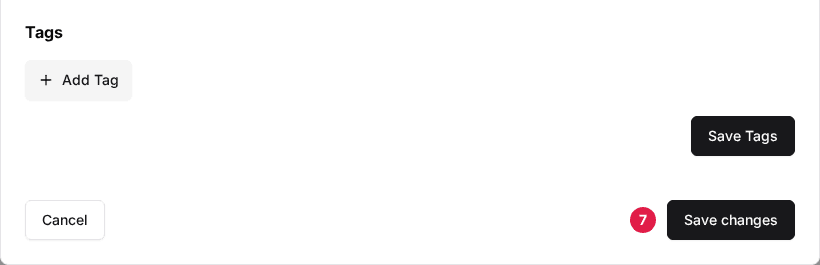
Save changes saves only the two switches. Field mappings and tags have their own Save Mapping and Save Tags buttons, so click those before you close the window. Rex sends nothing for a venue until its list has a saved mapping.
Check that it works
Make a test reservation at the venue, then look for the guest's email in the Mailchimp audience you picked. Each reservation's integration history records a failed Mailchimp sync with the error Mailchimp returned, and Rex emails the failure to the venue's error notification emails.
Troubleshooting
Reservations don't reach Mailchimp
Possible causes
- •Enable Mailchimp is off at the venue
- •The venue's list has no saved field mapping
- •The account isn't connected with v2 (OAuth)
Fix
Open the venue's Mailchimp Settings, turn on Enable Mailchimp, pick the list and click Save Mapping, then click Save changes. On the account card, check that v2 (OAuth) shows Connected.
The List dropdown is empty
Possible causes
- •The account isn't connected with v2 (OAuth), or the connection has expired
Fix
Open the Mailchimp card's Settings, select v2 (OAuth), click Disconnect if it shows Connected, then click Connect and sign in again.
Event inquiries don't reach Mailchimp
Possible causes
- •Enable Mailchimp Party is off at the venue
- •No v1 (API Key) connection is saved
Fix
Turn on Enable Mailchimp Party in the venue's Mailchimp Settings, then on the account card switch Version to v1 (API Key), enter the Audience ID and API Key, and click Save changes.
Updated Oct 8, 2026
Was this helpful?