
Connect Steltronic
Steltronic connects Rex to your Steltronic bowling system. Rex sends each reservation to Steltronic as soon as it's booked, with its lanes and, when the guest has entered them, player names and shoe sizes. Changes and cancellations are sent too, so staff can start games without retyping the booking.
You need the URL, username and password of your Steltronic system's API. Get them from Steltronic before you start.
Add Steltronic to your account
Navigate to Marketplace > Integrations
Search for Steltronic. Venue Admin, Regional Admin and read-only users don't see this page; ask an account admin.
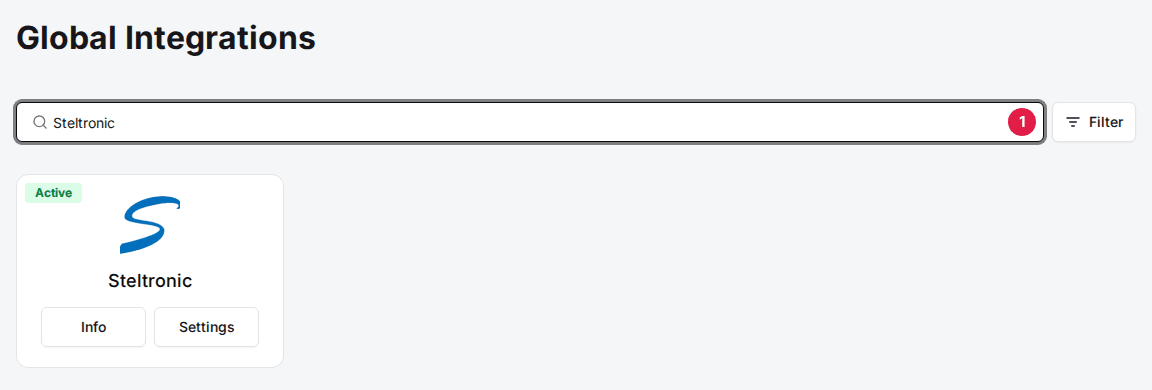
Click Add on the Steltronic card
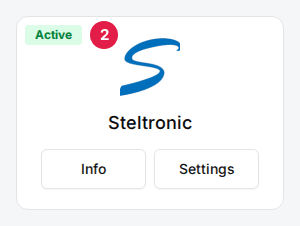
Read the description and click Confirm and Add. The card then shows Settings and Info.
Turn it on for a venue
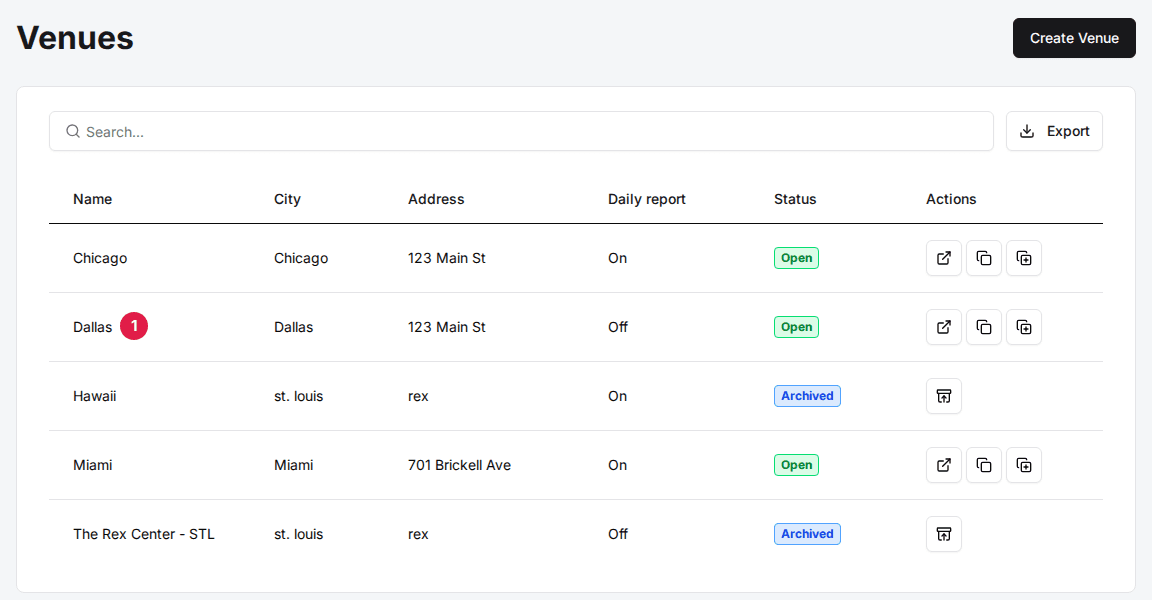
Open the venue
Click the venue. You land on its General tab.
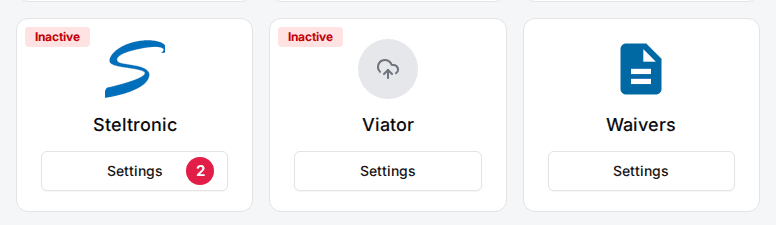
Click Settings on the Steltronic card
The card is in the Integrations section at the bottom of the General tab.
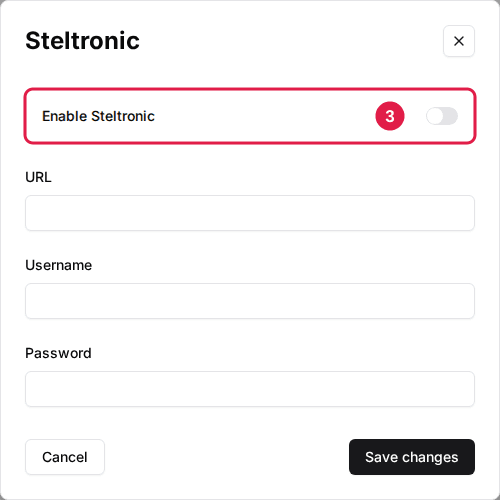
Toggle Enable Steltronic to ON
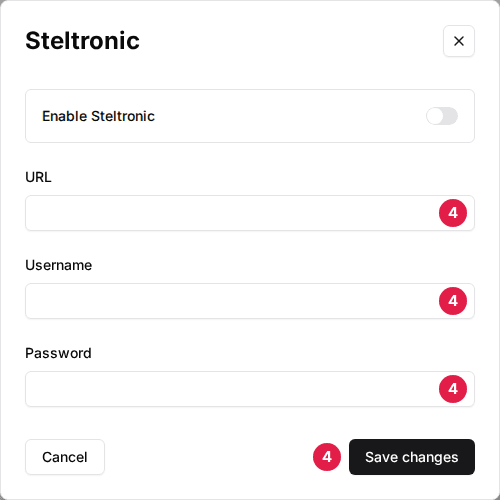
Enter the URL, Username and Password
Use the details Steltronic gave you for this venue, then click Save changes.
Map lanes to Steltronic
Give every lane the lane number Steltronic uses, so each booking lands on the right lane.
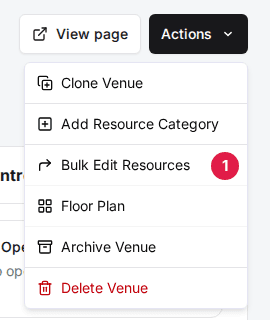
Click Actions > Bulk Edit Resources
The Actions menu is at the top right of the venue page.
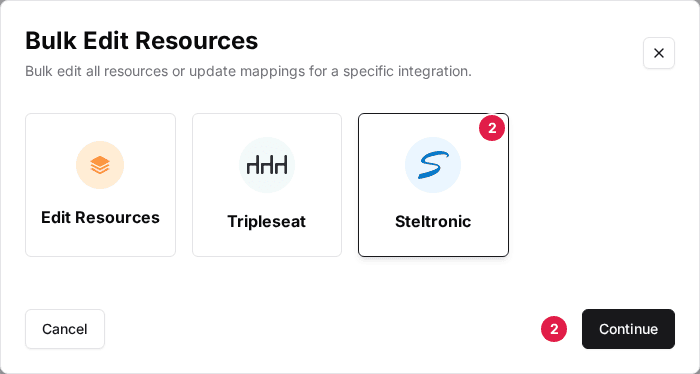
Select Steltronic and click Continue
Steltronic appears here once Enable Steltronic is saved for the venue.
Enter the Steltronic Lane ID for each resource
One resource category shows at a time; the arrow buttons move between categories.
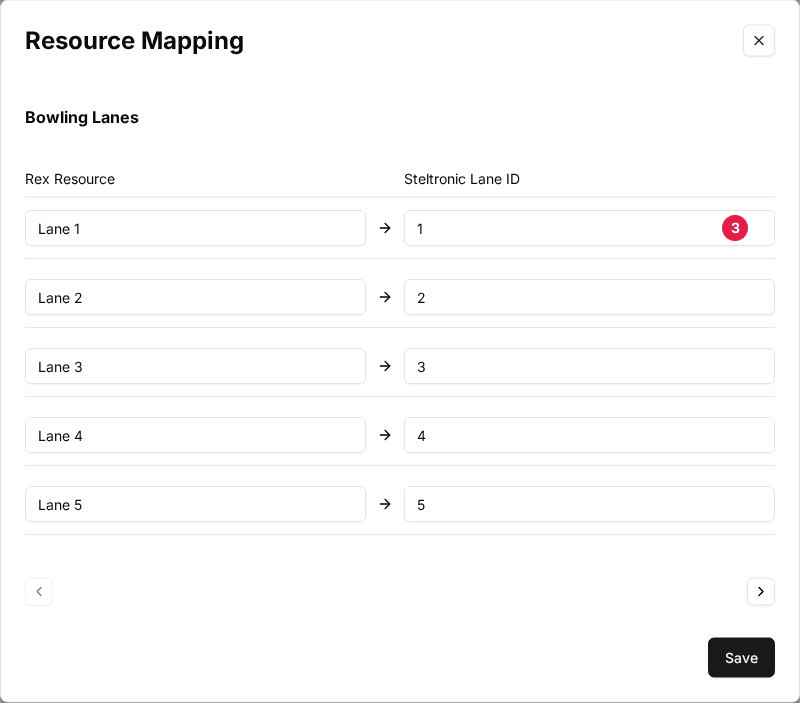
Click Save
Save stores the category on screen, so save before moving to the next category.
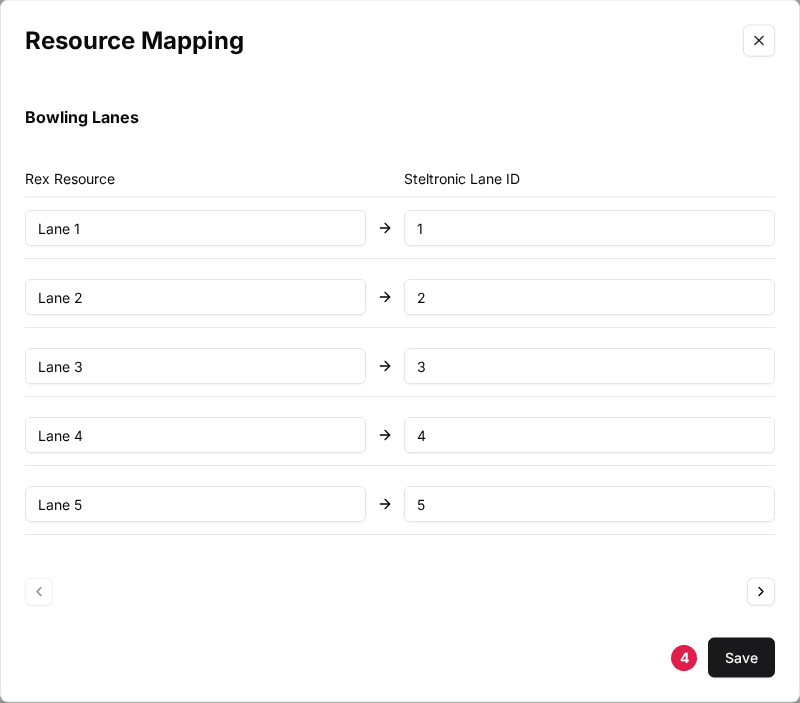
To change a single lane, open the venue's Resources tab, click the ⋮ menu on the resource, choose Edit, open the Mapping tab and set Steltronic Lane ID.
Choose what syncs
- Packages: a booking for a package goes to Steltronic only when that package has Sync With Steltronic on. Open the package from the venue's Packages tab, click Settings on the Steltronic card in its Integrations section and turn it on. Bookings without a package always sync.
- Blocks: to send blocked time to Steltronic too, click Edit on a resource category in the Resources tab and turn on Enable Sync to Steltronic Block. New and edited blocks on that category's lanes are then sent.
Check or resend a reservation
Each send is logged as Sync with Steltronic on the reservation's Timeline, and failures are emailed to the venue's Error notification emails (General tab, Venue Settings). To send a reservation again, open it from Reservations, click Actions, choose Manual Sync, select Steltronic and click Sync.
For more help, see View integration sync history and Integration not syncing — how to diagnose.
Updated Oct 8, 2026
Was this helpful?